Stunning 3D Reminder Notification Mockups
In the fast-paced world of digital design, first impressions are everything. Whether you are a seasoned UI designer, a freelance developer, or a small business owner managing your own brand, the way you present your work often matters just as much as the work itself. This is where a Reminder Notification Interface Mockup becomes an invaluable asset. It serves as a bridge between a flat design file and a realistic representation of how that design will look in a user's hand. Instead of showing clients a static screenshot that lacks context, these tools allow you to showcase your interface within a lifelike environment, complete with shadows, lighting, and device textures.
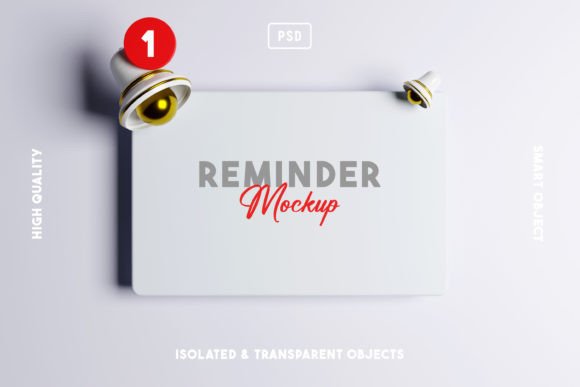
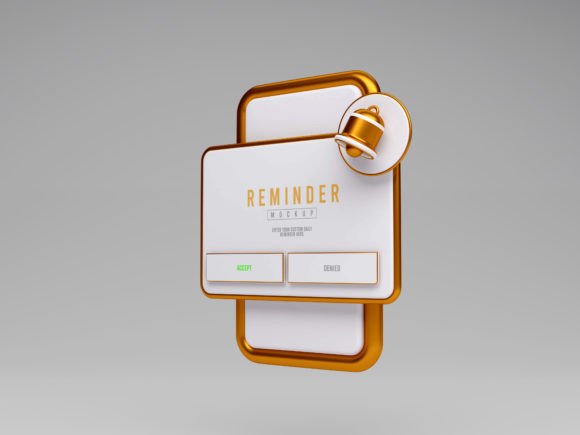
The specific value of this 01 PSD 3D Reminder notification interface mockup lies in its simplicity and modern aesthetic. It is designed to be trendy yet functional, ensuring that your designs stand out without being overshadowed by the presentation itself. When you are trying to promote an online shop portfolio or share updates on social media platforms to attract potential clients, visual appeal is the hook that stops the scroll. A high-quality mockup transforms a standard alert or reminder screen into a tangible product that viewers can immediately understand and appreciate.
Why Visual Context Matters for Your Designs
Imagine you have spent hours perfecting the typography, color palette, and iconography of a new reminder app feature. If you present this as a flat JPEG on a white background, it might look clean, but it lacks depth. Clients and stakeholders often struggle to visualize how a design translates to a real-world scenario. By using a Reminder Notification Interface Mockup, you provide that missing context instantly. It answers the question, "What will this actually look like on a phone?" before a single line of code is written.
For entrepreneurs and marketers, this tool is particularly powerful for brand promotion. Social media platforms like Instagram, LinkedIn, and Behance are highly visual environments. Posting a raw design file rarely generates engagement. However, placing that same design into a sleek, 3D-rendered interface creates a professional image that suggests quality and attention to detail. It signals to your audience that you care about the final presentation, which builds trust in your brand or service.
Perfect for Portfolios and Client Presentations
One of the primary uses for these mockups is enhancing your professional portfolio. Whether you are a student building your first case study or a veteran designer updating your website, the quality of your mockups reflects the quality of your skills. Using a modern, trendy mockup shows that you are up-to-date with current design standards. It allows you to present your designs to clients in a format that feels premium and polished.
Consider a freelancer pitching a new productivity app to a startup. The pitch deck needs to look convincing. Inserting your interface designs into this 3D notification mockup makes the concept feel real and ready for market. It helps the client visualize the end product, making it easier for them to say "yes" to your proposal. Similarly, educators teaching UX/UI principles can use these files to demonstrate to students how important presentation layers are in the design process.
How to Use This Mockup Without Any Hassle
A common misconception among beginners is that working with 3D mockups requires advanced technical skills or expensive software beyond the standard design suite. That is simply not the case with this particular resource. The Reminder Notification Interface Mockup is built with ease of use in mind, ensuring that no special experience is needed to get great results. The entire process is streamlined to save you time so you can focus on creativity rather than technical setup.
To get started, you only need Adobe Photoshop. The workflow is intuitive and follows a logical sequence that even casual users can master within minutes. Here is a practical breakdown of how to bring your design to life:
- Open the File: Launch Adobe Photoshop and open the provided PSD file. You will see the main composition ready for your input.
- Locate the Smart Object: Look for the layer named "place your design here." This is a Smart Object, which acts as a container for your artwork.
- Edit the Content: Double-click on the Smart Object thumbnail. This action opens a new tab or window containing a blank canvas specifically sized for your design.
- Insert Your Design: Simply drag and drop your interface screenshot or design file onto this new canvas. Adjust it if necessary to fit the guidelines, then save the file (Ctrl+S or Cmd+S).
- View the Result: Go back to the main PSD file. You will instantly see your design applied to the 3D model, complete with all the realistic lighting and perspective effects.
This "drag, drop, and save" methodology eliminates the frustration often associated with complex rendering tools. It allows for rapid iteration; if you want to test a different color scheme or layout, you just update the smart object, and the mockup updates automatically.
Technical Specifications and Quality
When selecting resources for professional work, resolution and clarity are non-negotiable. Low-resolution images can appear pixelated on high-DPI screens or when printed, undermining the professionalism of your project. This mockup set addresses those concerns by offering extremely high-quality assets. You receive a file with a resolution of 4000 x 3000 pixels at 300 DPI. This ensures that your images remain crisp and clear whether they are viewed on a retina display, projected in a meeting room, or printed in a marketing brochure.
The package typically includes the main editable PSD file and a high-quality JPEG image file. The JPEG is perfect for quick sharing on social media or attaching to emails where an editable file isn't required, while the PSD gives you full control over customization. The easy-to-customize nature of the file means you can adjust lighting, angles, or background elements if your version of Photoshop supports those features, giving you flexibility to match your specific brand guidelines.
Things to Consider Before You Start
While these tools are incredibly user-friendly, there are a few practical considerations to keep in mind to ensure the best outcome. First, always ensure your source design matches the aspect ratio of the smart object template. If your design is significantly wider or narrower than the placeholder, you may need to crop or add padding to your original file to prevent unwanted stretching or cropping within the mockup.
Secondly, think about the context in which you are using the Reminder Notification Interface Mockup. While the 3D effect is stunning, it should complement your design, not distract from it. Ensure that the colors in your interface contrast well with the device frame and background provided in the mockup. If your design is dark, check how it reads against the specific lighting conditions of the 3D render.
Finally, remember that consistency is key for brand promotion. If you use this style of mockup for one project, consider using similar high-quality assets for your other portfolio pieces. This creates a cohesive look across your online shop or personal website, reinforcing your identity as a professional who delivers quality work. By leveraging these simple yet powerful tools, you can elevate your digital presence, engage more effectively with your audience, and present your creative ideas with the confidence they deserve.